Ty's sister requested a bat for her Christmas gift. Like something in acrylic, like a paperweight. Well, that's too easy!! So, Ty got to thinking and ordering. Then we went shopping at antique malls for the perfect materials to make her a one of a kind gift.
The first step was to order bats. Ty purchased one bat that had it's wings wrapped around his body and the other bat with his wings spread out.
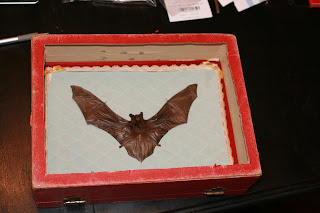
Next was the fun part, shopping for something to display them in. For the one with the spread wings we went to our favorite Antique Mall and looked for a small shadow box or something to make into a shadow box. Ty came upon an old red suitcase that a little girl would use to carry her doll & accessories. The vision was to make a window on one side and put in some glass and mount the bat inside, leaving it accessible by simply unlatching the case. Easy enough. Here's each step of the process.
 |
| The Case |
 |
| Inside the case |
 |
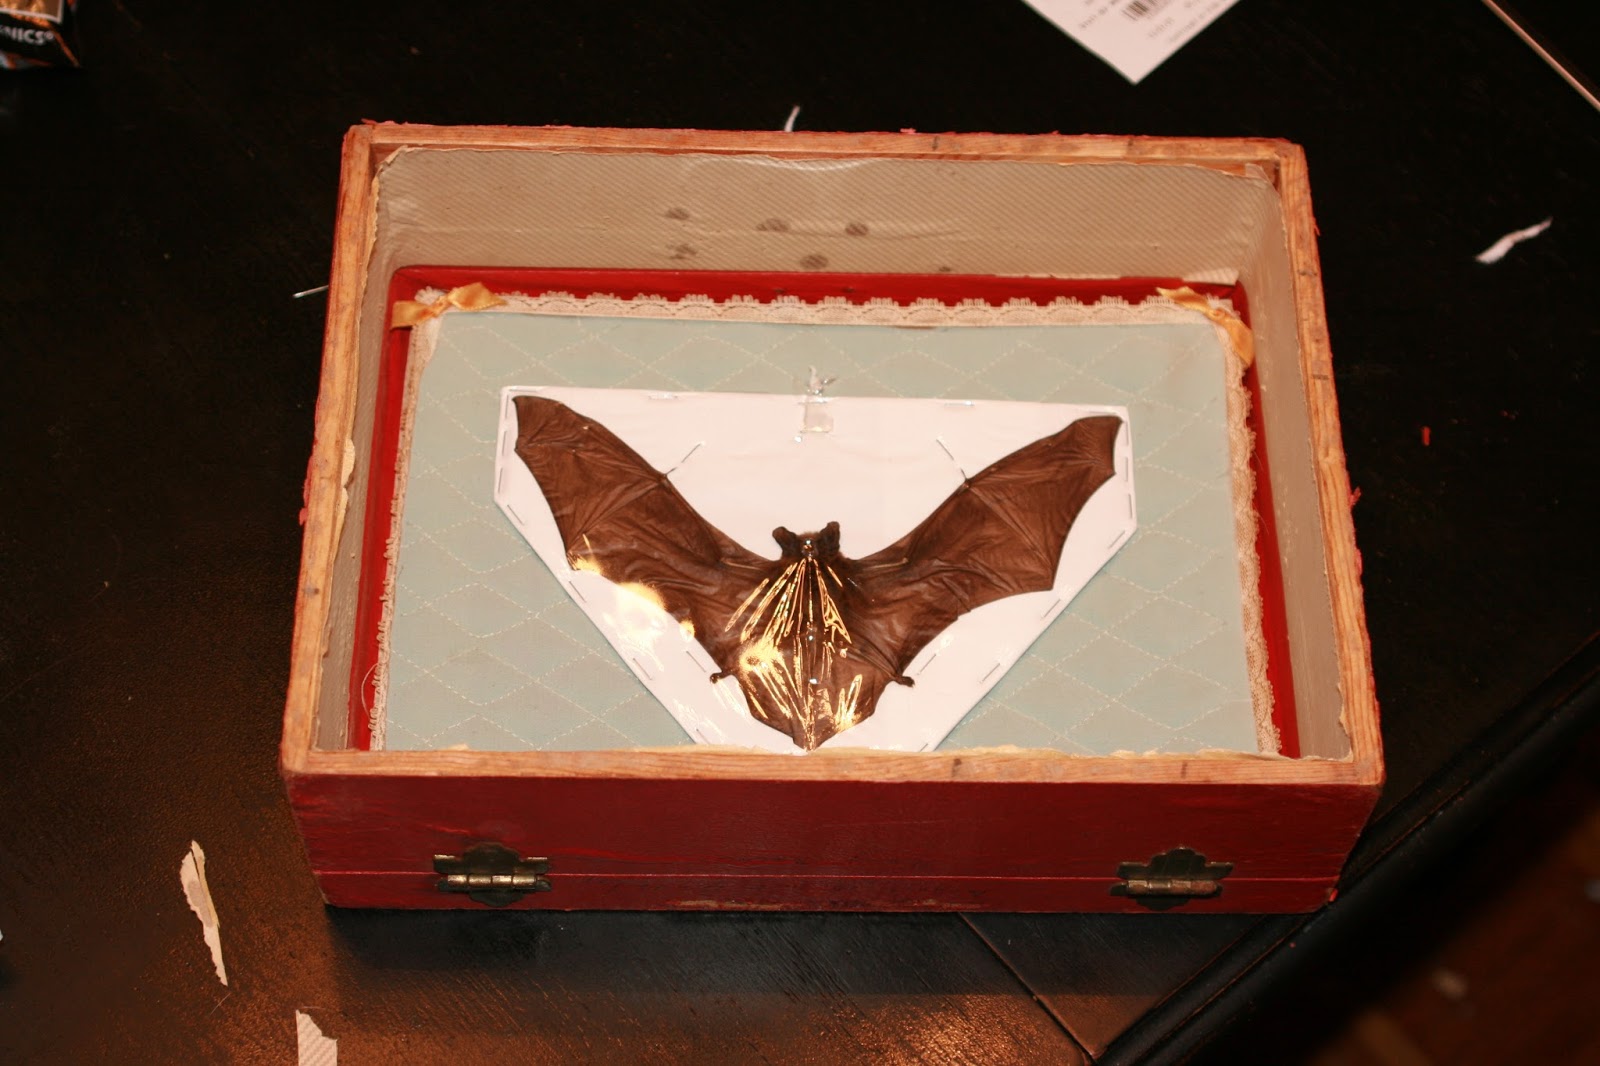
| Separate the back panel from the case |
 |
| This will be the Bat's backdrop |
 |
| Test fitting the bat before we unwrap him |
 |
| Cutting a hole in the back panel creating a window |
 |
| Bat is fitted with out wrapping and window frame is test fitted |
 |
| Glass gets glue on edges |
 |
| Glass fitted onto opening in the back panel |
 |
| Case opens so you can access the bat |
 |
Bat was mounted by affixing his body to the backdrop
and
DONE! |
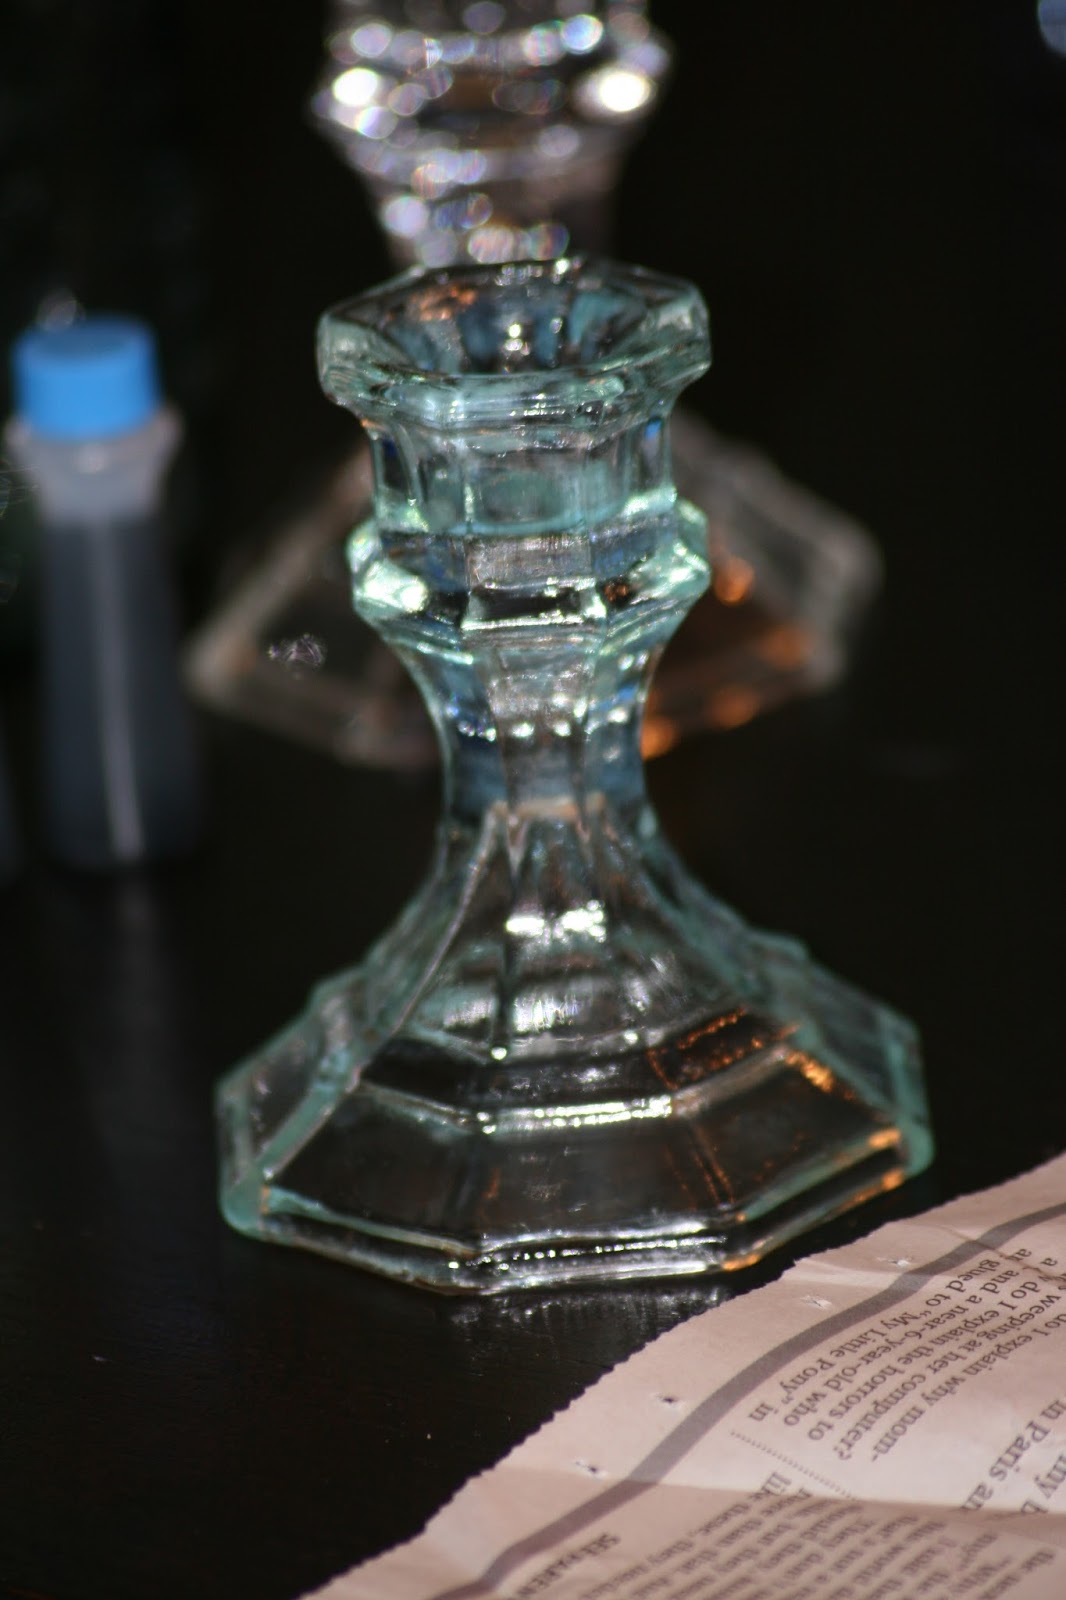
The second bat, he needed to hang. In the same Antique Mall we came across an old Ball Mason Jar with a zinc lid. This jar was tinted blue and it was so pretty. This looked perfect for the little guy to hang out in. The jar needed a little more flare so I picked up a candle stick holder at the dollar store and made a tint (details below) to paint over the glass to match. The inside of the jar needed some earth so we went to Hobby Lobby and found some earthy looking things in the model train section and in the floral section. The bat was mounted upside down on the lid once the landscaping was created inside. This allowed the bat to be viewed 360* and placed just about anywhere.
 |
| The Hanging Bat |
 |
| Mod Podge Super Gloss Sealant |
 |
I tinted the Podge using food coloring to create the same color
as the jar color |
 |
| Candle Stick is tinted |
 |
| Comparing the colors & getting the vision |
Filling the Jar:
 |
| We used this Moss to fill the bottom of the jar |
 |
| We did a small bit of the different types |
 |
| the outside |
The Big Finish
 |
The bat was glued to the lid
we used tape to hold him in place while the glue dried |
 |
| Now for his close up! |
This project took us 1 evening to assemble with mostly Ty working on it.
Our budget for this gift was around $65.00


Comments
Post a Comment