Victrola into Media Cabinet

When Ty and I bought our house we never intended to have a TV in our living room. We wanted it to be a sitting area where we could visit with friends and family. Now, 3 kids later, we want to watch movies in our living room while the kids play video games in the family room in the basement. So we have a fun set up in our living room, but I'll post more about that later. Right now lets talk about our media storage solution. We have quite a few antiques in our living room and there is a music theme that quietly runs through the space. While we were at Sparks, KS flea market we came across an old victrola and I offered the seller $20 for it and it was ours. This old weathered tired, broken victrola is all ours. The before pictures don't show quite how weathered it was.


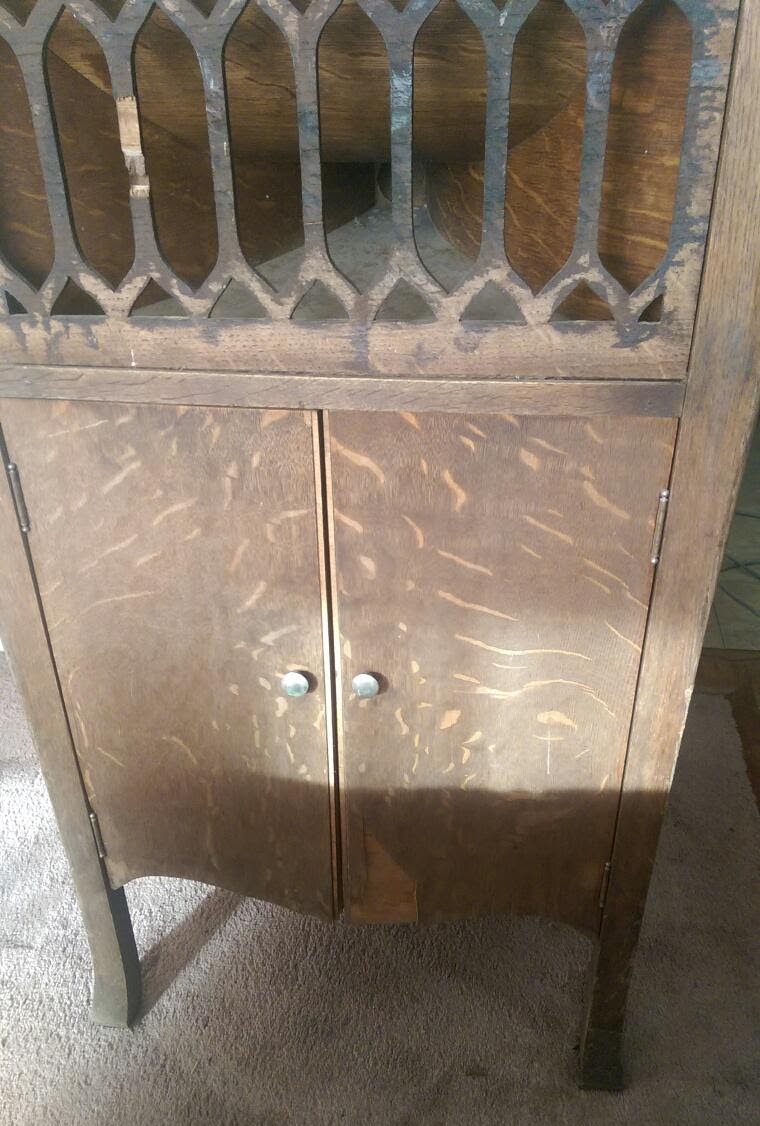 After giving it a good cleaning and taking out the horn we were ready to start working.


There was a piece of veneer missing from the top, so we took some from the veneer we peeled off the door that wasn't going to be seen and Ty cut and glued the veneer in the top. It was sanded and then we got to staining the whole victrola. We used a one step product and applied about 3 coats.


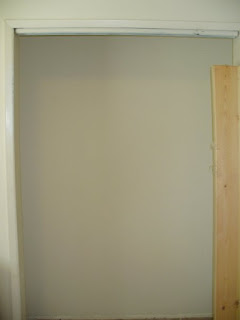
The grill was fixed and we attached some sheer fabric that was doubled over to allow remotes to still work through the fabric but it was enough to hide the electronics inside.
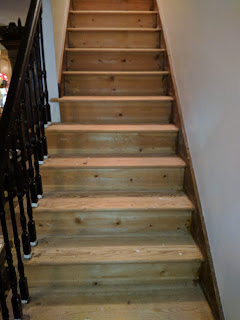
Holes were cut in the back for cords to run through and the shelves in the cabinet were put in backward to allow room for the cables. This has allowed plenty of room for the equipment we needed to put inside. The top we use to store our remotes and other small items.
We also installed some LED lights so it is easier to see inside the cabinet when needed.
Over all, this project was fairly easy and took a day to complete. Most of the items we had on hand to fix it. The only thing I believe we purchased was the stain.
 |
| Finished open w/ no lights |
 |
| Finished open w/ lights on |
 |
| Finished all closed |
This was such a great piece to work on. It was one of those items we looked at and it had good bones. It has created a lot of storage and cleared up what used to look like a huge mess.
 |

Awesome idea!
ReplyDelete